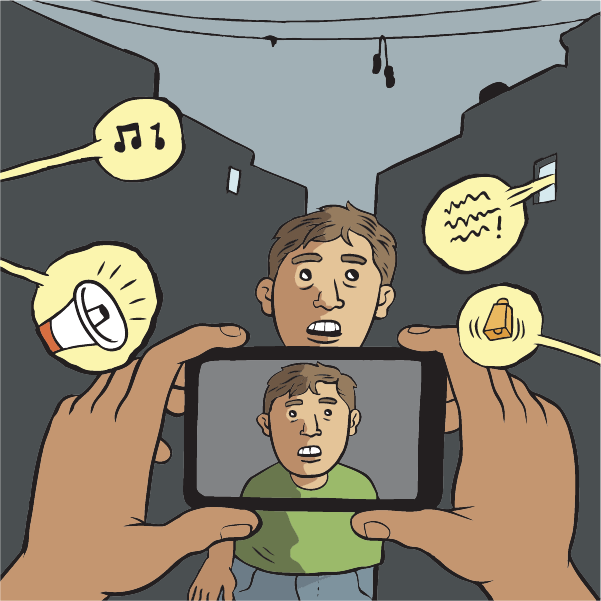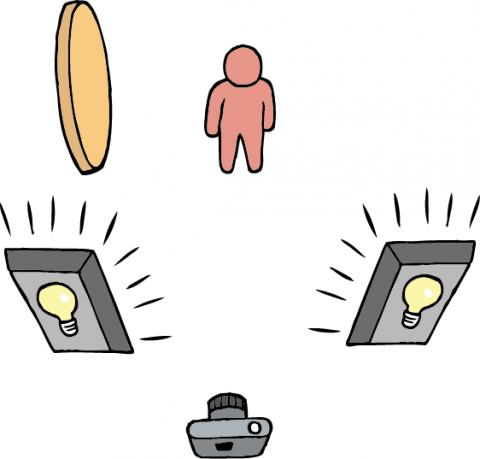
Your video can be perfectly framed, but with bad sound and light your video will not be effective. Good sound and light make your videos professional, and make it more likely to be shared by others. They are necessary components to enable information in your video to be understood.
With low-cost devices, sound and light can be especially difficult to control. Consider these techniques to improve your recording.

Know the capabilities of your mobile. Each mobile device has its own advantages and problems. Experiment to understand how to get the best results.
Sound
Without good sound your images are only telling half the story and improving the quality of the sound in your video is one of the fastest ways to improve the quality of your video.
Natural Sound
If it is windy, your sound will not be audible. Point your camera away from the wind, or protect your mic. Shield the mic with your hand or with a card blocking the windy side. Using a natural windbreak such as a wall is effective in some situations.
People / Crowds
Crowds and busy streets make a lot of noise. That may make your desired sound inaudible. Do not film interviews with large crowds in the background. If you cannot go to a better location, point your camera away from the crowd and have your subject face the crowd.
Machines
Generators, air conditioners, refrigerators, and fluorescent lights are all machines that create harsh audio distractions. Turn off the machines if possible, or change your location if you can- noise from fluorescent lighting is usually unavoidable.
Acoustics
Be aware of the acoustics of the room or how the sound bounces from the walls. Places like tiled bathrooms or hallways tend to reflect sound and will echo very badly. Rooms with sound absorbent materials in them such as carpets, curtains, or soft furniture are far better.
Headset as Microphone
If your mobile device works with a headset with a microphone for phone calls you may be in luck. The microphone for your calls may function as a plug-in microphone while shooting video. Test this before you want to use it, but it can be an effective way to capture better audio for interviews.
Light
Lighting Outdoors
Shooting outdoors during daylight hours is the easiest way to ensure success. Even on overcast days it is a great place to get good light.
Film your subject with the light source directly on the subject.
When the light source is directly behind your subject, the subject will be too dark and difficult to see. This technique may be used to hide a subject’s identity by preventing the camera from recording their face.
Lighting Inside
If you are shooting indoors try to find a room with plenty of sunlight in it to produce good results. Sit with your back facing the window and sit your interviewee facing the light source so that the sunshine will light their face. If you sit them with their back to the window shooting into the light source, the camera will take its reading from the brightest image in the frame and close down its iris so as not to over-expose the shot. This will result in your interviewee becoming silhouetted in the picture, a good technique if you want your interviewees identity to remain a secret but not if you want them to be seen!
Bouncing Light
Using anything white, paper, cardboard, or anything that reflects the light can be used to bounce light back onto your subject.
Low light can produce poor shots. Shooting outside or in a sunny room can give you great light.

Lights approximately 3 feet away are most flattering.
Things to Remember
Sound
- Sound should always be a consideration when shooting.
- If your sound is unusable, it is possible to remove the sound and replace it with different sound or no sound at all.
- Sound is half of the information in a video, consider it for every shot.
Light
- Shooting outside or in a sunny room can give you great light.
- Low light can produce poor pictures.
- Have light shine on subjects, backlit subjects appear silhouetted.
- Lights approximately 3 feet away are most flattering.
- Do not burn yourself, wear gloves to handle lights!